 EN
EN



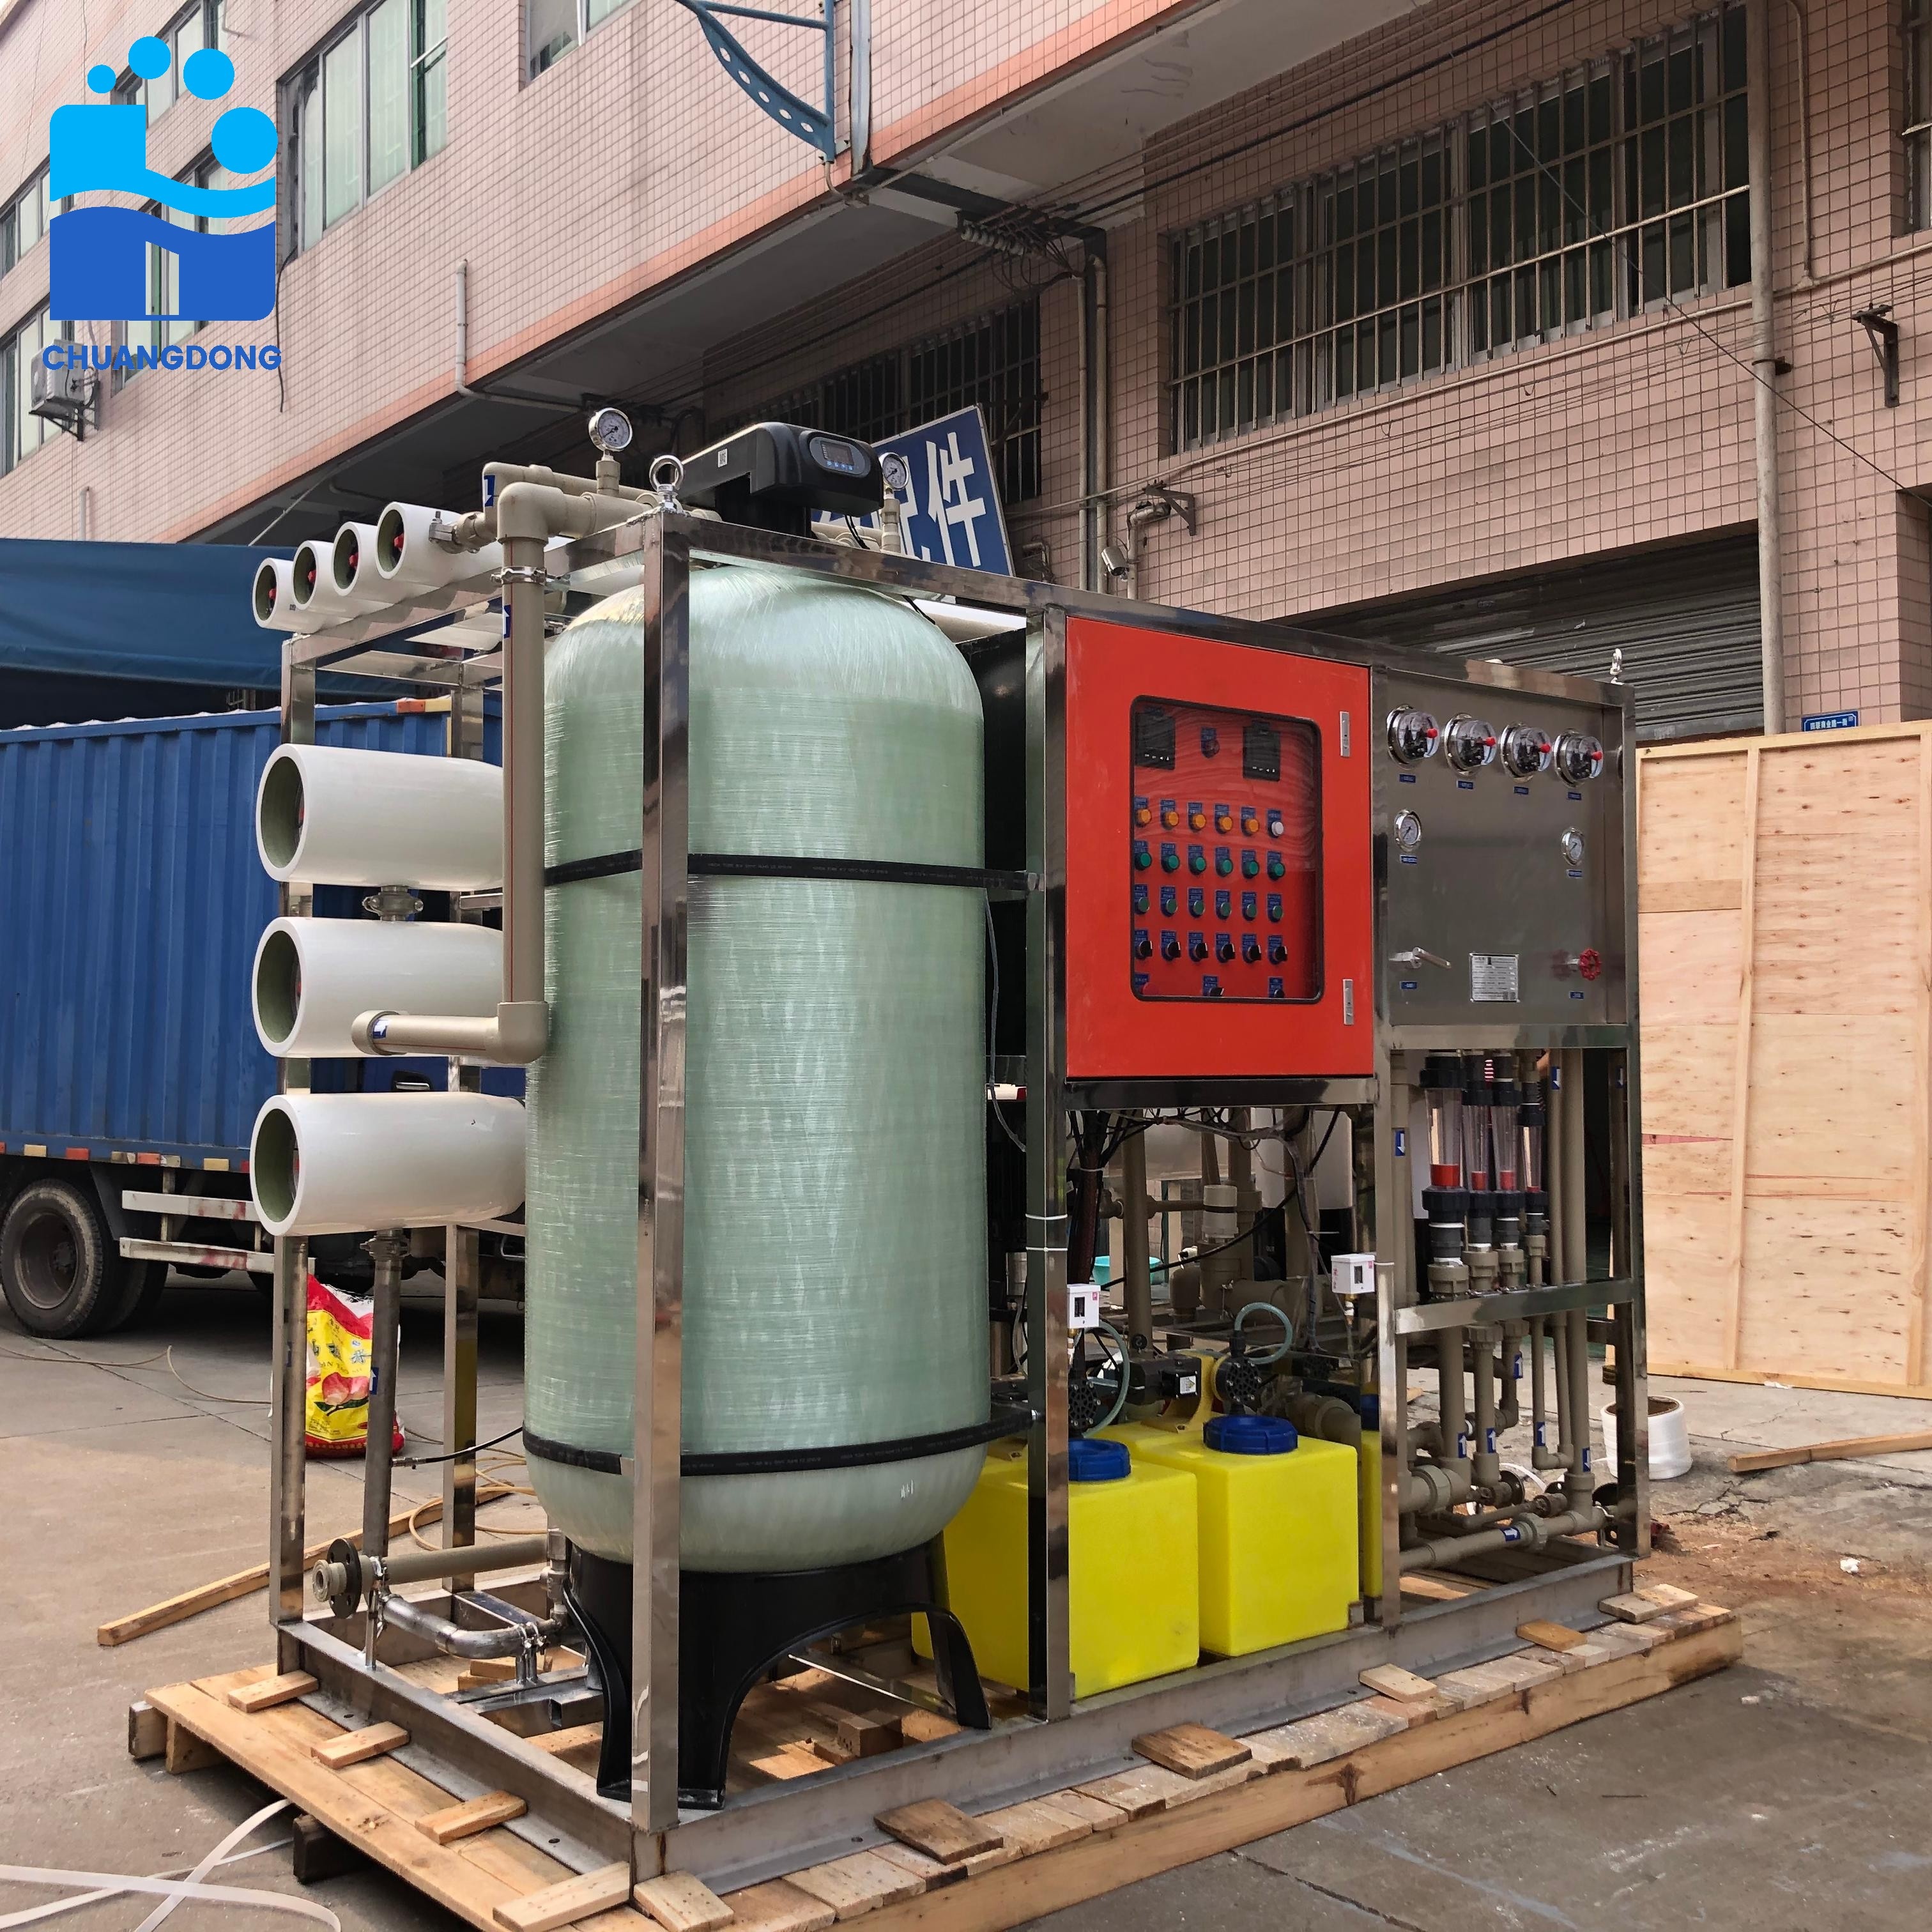
Flushing an RO system is one of the most critical maintenance procedures every water treatment operator should master. Regular flushing prevents membrane fouling, extends equipment lifespan, and maintains water quality standards. Whether you operate a residential, commercial, or industrial reverse osmosis setup, understanding how to flush an RO system correctly ensures optimal performance and protects your investment in filtration technology. This comprehensive guide walks you through each step of the flushing process, from preparation to post-flush verification.
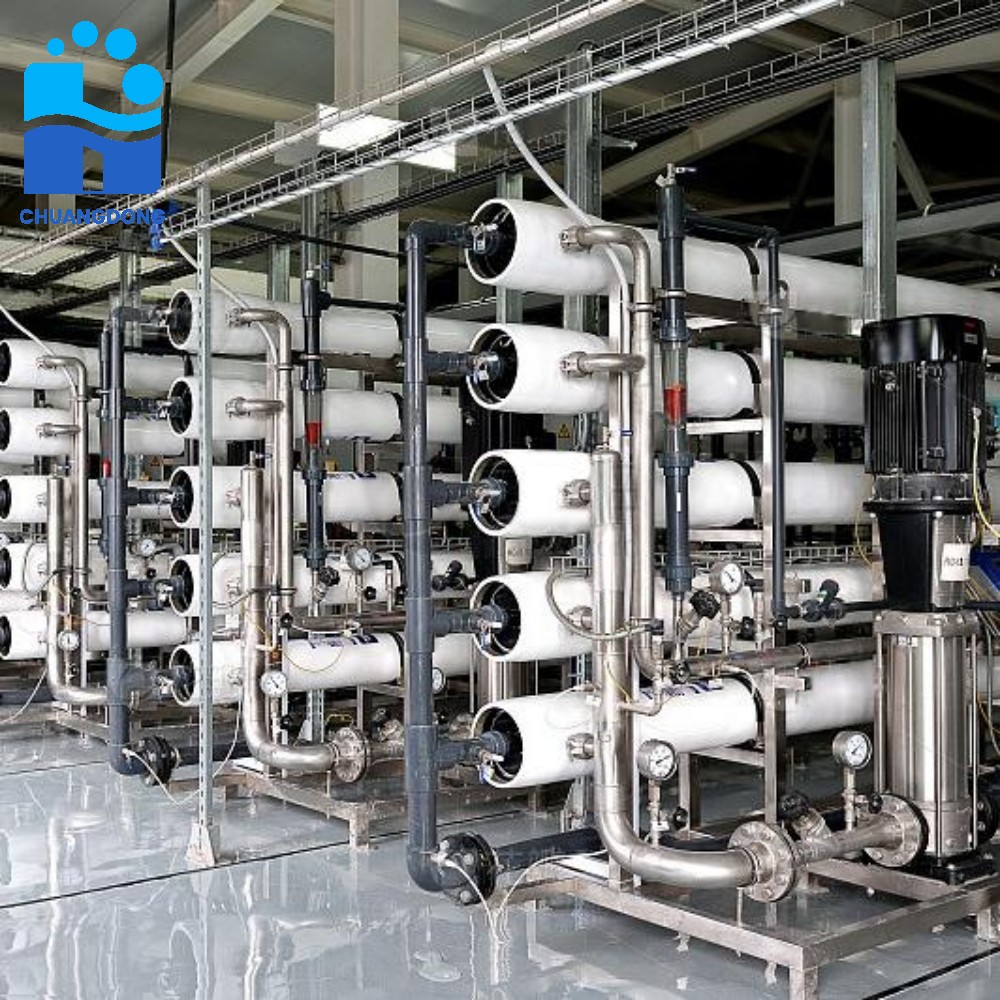
Knowing how to flush an RO system correctly is not merely a maintenance recommendation but an operational necessity. Membrane fouling, salt accumulation, and bacterial growth occur naturally in any reverse osmosis installation. Without routine flushing protocols, these contaminants reduce water production rates, degrade effluent quality, and accelerate membrane degradation. This guide provides actionable procedures that apply across different RO system sizes and configurations, helping you execute professional-grade maintenance that extends equipment reliability.
Understanding Why Regular Flushing Protects Your RO System
The Impact of Fouling on System Performance
Membrane fouling occurs when sediment, minerals, bacteria, and organic matter accumulate on the membrane surface. When you flush an RO system regularly, you mechanically remove these deposits before they become bonded to the membrane. Fouling reduces the effective membrane surface area, which forces the system to operate at higher pressures to maintain production rates. Over time, this increased operating pressure damages the membrane structure, reducing its functional lifespan by several years. Properly executed flushing protocols prevent this degradation cascade.
How Flushing Extends Membrane Life and Reduces Costs
A well-maintained membrane can deliver eight to ten years of reliable service, while a neglected system may require replacement within three to five years. When you flush an RO system using the correct procedures, you remove trapped deposits that would otherwise calcify and permanently damage the membrane surface. Regular flushing also maintains consistent water production rates, reducing operational stress on the system and preventing emergency shutdowns. The cost of scheduled flushing maintenance is negligible compared to the expense of premature membrane replacement and production loss.
Step-by-Step Procedure to Flush an RO System
Pre-Flushing Inspection and System Shutdown
Before you begin to flush an RO system, conduct a thorough inspection of all connection points, pressure gauges, and valve positions. Document baseline pressure readings for the feed water, concentrate, and permeate lines. Verify that all safety switches are functional and that the area around the system is clear of personnel. Shut down the system completely and allow residual pressure to dissipate for at least five minutes. This waiting period prevents sudden pressure surges that could damage fragile internal components during the initial flush cycle.
Opening Bypass Valves and Initiating Flow
To properly flush an RO system, locate the concentrate bypass valve and slowly open it to full position. This action redirects feed water across the membrane surface without forcing it through the semi-permeable barrier. Open the product water valve slightly to allow controlled flow through the system. Begin running low-pressure feed water through the system at approximately twenty to thirty percent of normal operating flow rate. Monitor all pressure gauges continuously during this phase, as pressure surges indicate blockages or valve misalignment that require immediate attention before proceeding.
Gradually Increasing Flow and Duration
Once initial flow stabilizes, gradually increase the feed water pressure over a ten-minute period until you reach normal system operating pressure. Maintain this elevated flow for a minimum of fifteen to twenty minutes, allowing high-velocity water to sweep away accumulated deposits from the membrane surface. If your system includes a cleaning solution injection capability, this is the point where you introduce mild cleaning chemicals to further dissolve stubborn buildup. When you flush an RO system with cleaning solutions, follow manufacturer recommendations for chemical type and concentration to avoid membrane damage.
Monitoring and Controlling System Parameters
Throughout the flushing cycle, continuously observe pressure gauges, flow meters, and water quality sensors. Pressure should remain stable within plus or minus five percent of target values. If pressure spikes suddenly, immediately reduce flow rate and investigate for blockages in the bypass line. Pay attention to the concentrate water quality; clear water indicates successful removal of suspended deposits. If concentrate water appears turbid or discolored, extend the flushing duration another ten minutes and re-evaluate system condition.
Post-Flush Shutdown and System Restoration
Safely Reducing Pressure and Closing Bypass Valves
To complete the flushing cycle, gradually reduce feed water pressure over a five-minute period rather than abruptly shutting off flow. Slow pressure reduction prevents shock waves that could damage membrane structure or internal connections. Once pressure reaches approximately twenty percent of normal operating levels, slowly close the concentrate bypass valve while monitoring the product water valve. If the system pressure remains stable during this transition, the flush has been successful and the membrane is ready for normal operation.
Verifying System Performance Post-Flush
After you flush an RO system, restart it under normal operating conditions and collect performance data over the first hour of operation. Compare current pressure readings, flow rates, and water quality metrics against baseline values recorded before flushing. Typical results include a two to five percent improvement in water production rate and a noticeable decrease in feed pressure required to maintain target flow. If performance metrics do not show expected improvement, the system may require a second flushing cycle or professional inspection to identify underlying mechanical issues.
Troubleshooting Common Issues During Flushing
Addressing High Pressure Readings During Flush Cycles
Excessive pressure during flushing indicates partial blockage in the bypass line, feed water inlet, or concentrate outlet. First, verify that all bypass and vent valves are fully open to their maximum positions. Check for kinked or pinched tubing that might restrict flow. If pressure remains elevated, slowly close the feed water supply valve and allow the system to depressurize completely. When you flush an RO system that exhibits persistent high-pressure problems, investigate the feed water pre-filtration stage for clogged sediment filters that may be restricting incoming water volume.
Managing Turbid Water Output and Discoloration
Discolored water during flushing cycles indicates that accumulated deposits are being actively removed from the membrane surface. This is a normal and beneficial process during initial flushing. Continue flushing until the concentrate water runs completely clear, typically requiring thirty to forty minutes total flushing time. If water discoloration persists after sixty minutes of continuous flushing, discontinue the procedure and allow the system to rest overnight. Resume flushing the following day, as heavy fouling sometimes requires multiple shorter flush cycles rather than single extended sessions.
Pressure Fluctuations and Stability Issues
When you flush an RO system and encounter pressure fluctuations greater than ten percent, this suggests air bubbles trapped in the lines or valves that are not fully open. Manually open each valve an additional quarter turn to ensure complete flow passage. If air is present, create temporary venting points at high system locations by slightly loosening compression fittings for a few seconds. Pressure should stabilize within two minutes of venting. If fluctuations continue, the high-pressure pump may require professional servicing.
FAQ
How often should I flush an RO system?
The frequency depends on feed water quality and system usage intensity. Municipal water supplies typically require monthly flushing, while well water systems need flushing every two to three weeks due to higher sediment levels. Industrial systems processing challenging water sources should flush an RO system weekly or even daily. Monitor system pressure readings as an indicator; when feed pressure increases more than ten percent from baseline values, flushing has become necessary regardless of the scheduled interval.
Can I flush an RO system without shutting it down completely?
No, complete system shutdown is essential before you flush an RO system. Attempting to flush while the system is partially operational risks damaging internal components and creates safety hazards from unexpected pressure changes. Always follow proper shutdown procedures that include depressurizing all lines and waiting five minutes before beginning any flushing operation. Partial flushes conducted during normal operation do not provide the thorough cleaning that scheduled maintenance cycles deliver.
What chemical solutions should I use when I flush an RO system?
Always consult your system manufacturer's recommendations before introducing any cleaning chemicals when you flush an RO system. Common safe solutions include mild alkaline cleaners for organic fouling and mild acidic solutions for mineral scale removal. Never mix different cleaning chemicals, as incompatible combinations can damage membranes irreversibly. Typical cleaning concentrations range from one hundred to five hundred parts per million. After chemical flushing concludes, perform an additional ten-minute pure water flush to remove residual cleaning solution from the system.