 EN
EN



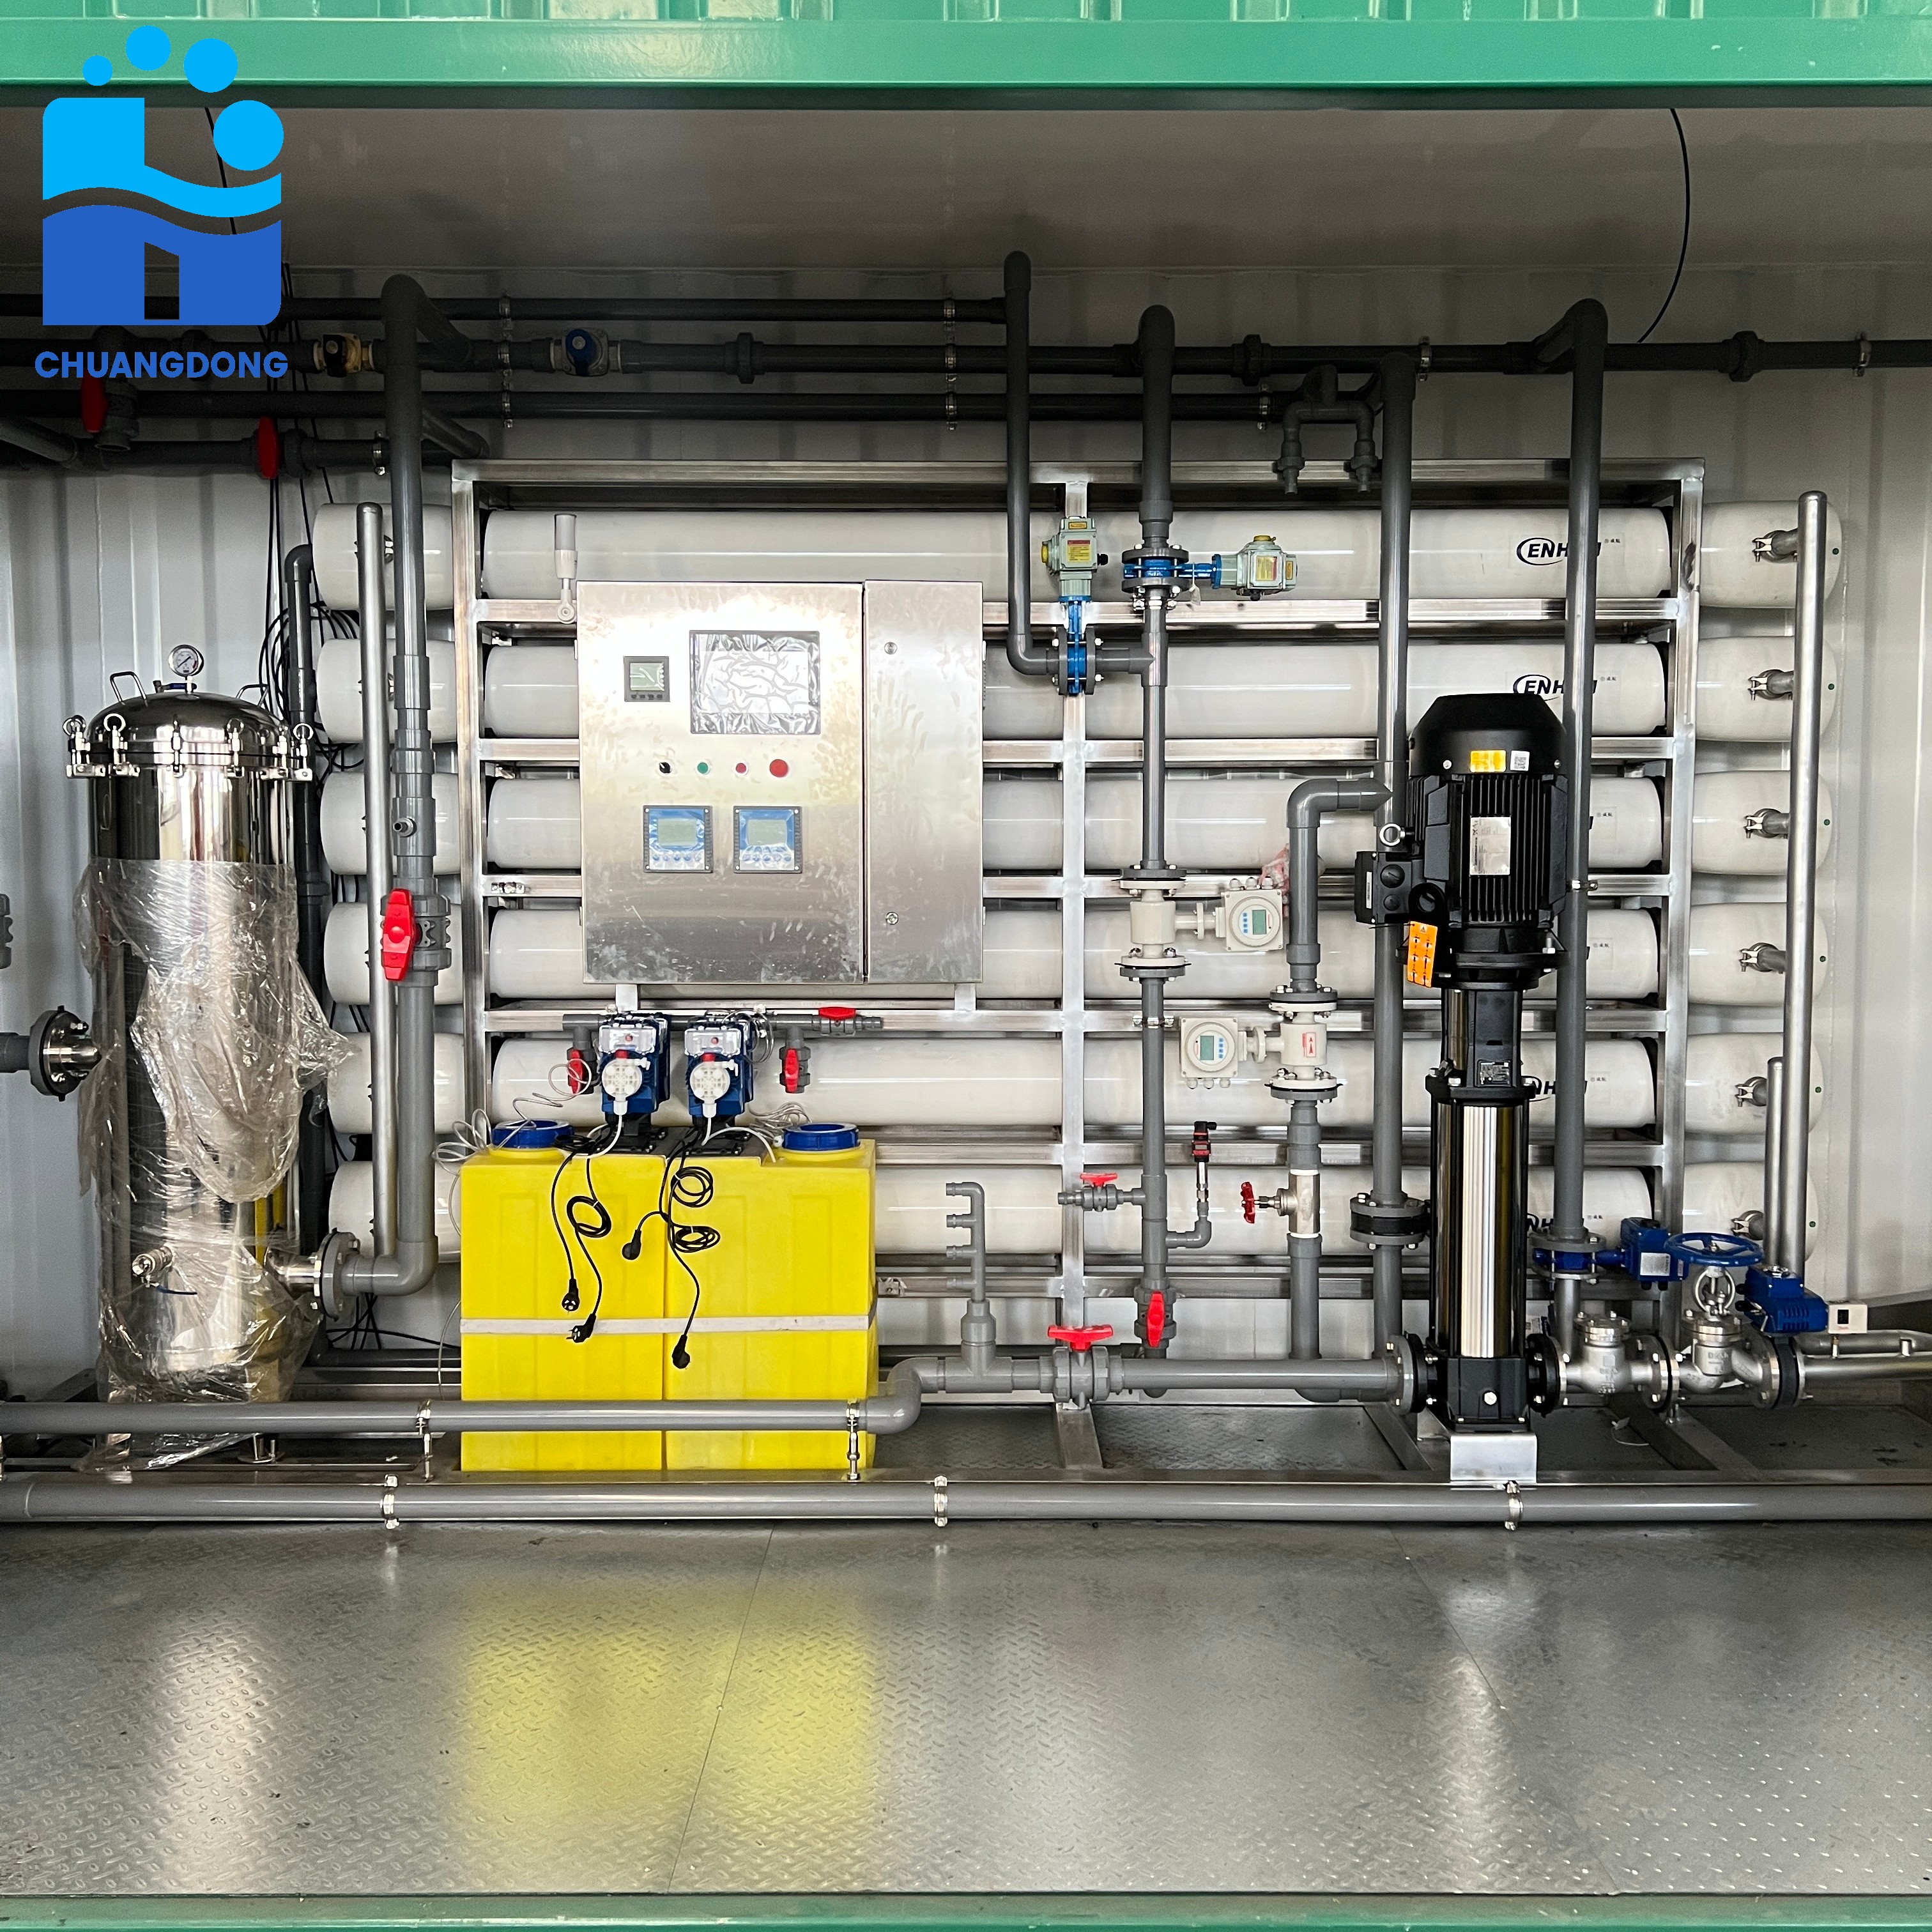
Maintaining a reverse osmosis water filter system in good working condition depends largely on timely replacement of its membrane and pre-filters. When these components degrade, the entire reverse osmosis water filter system loses efficiency, producing water that no longer meets purity standards. Understanding when and how to perform this replacement keeps your reverse osmosis water filter system operating at peak performance and extends the lifespan of the unit.
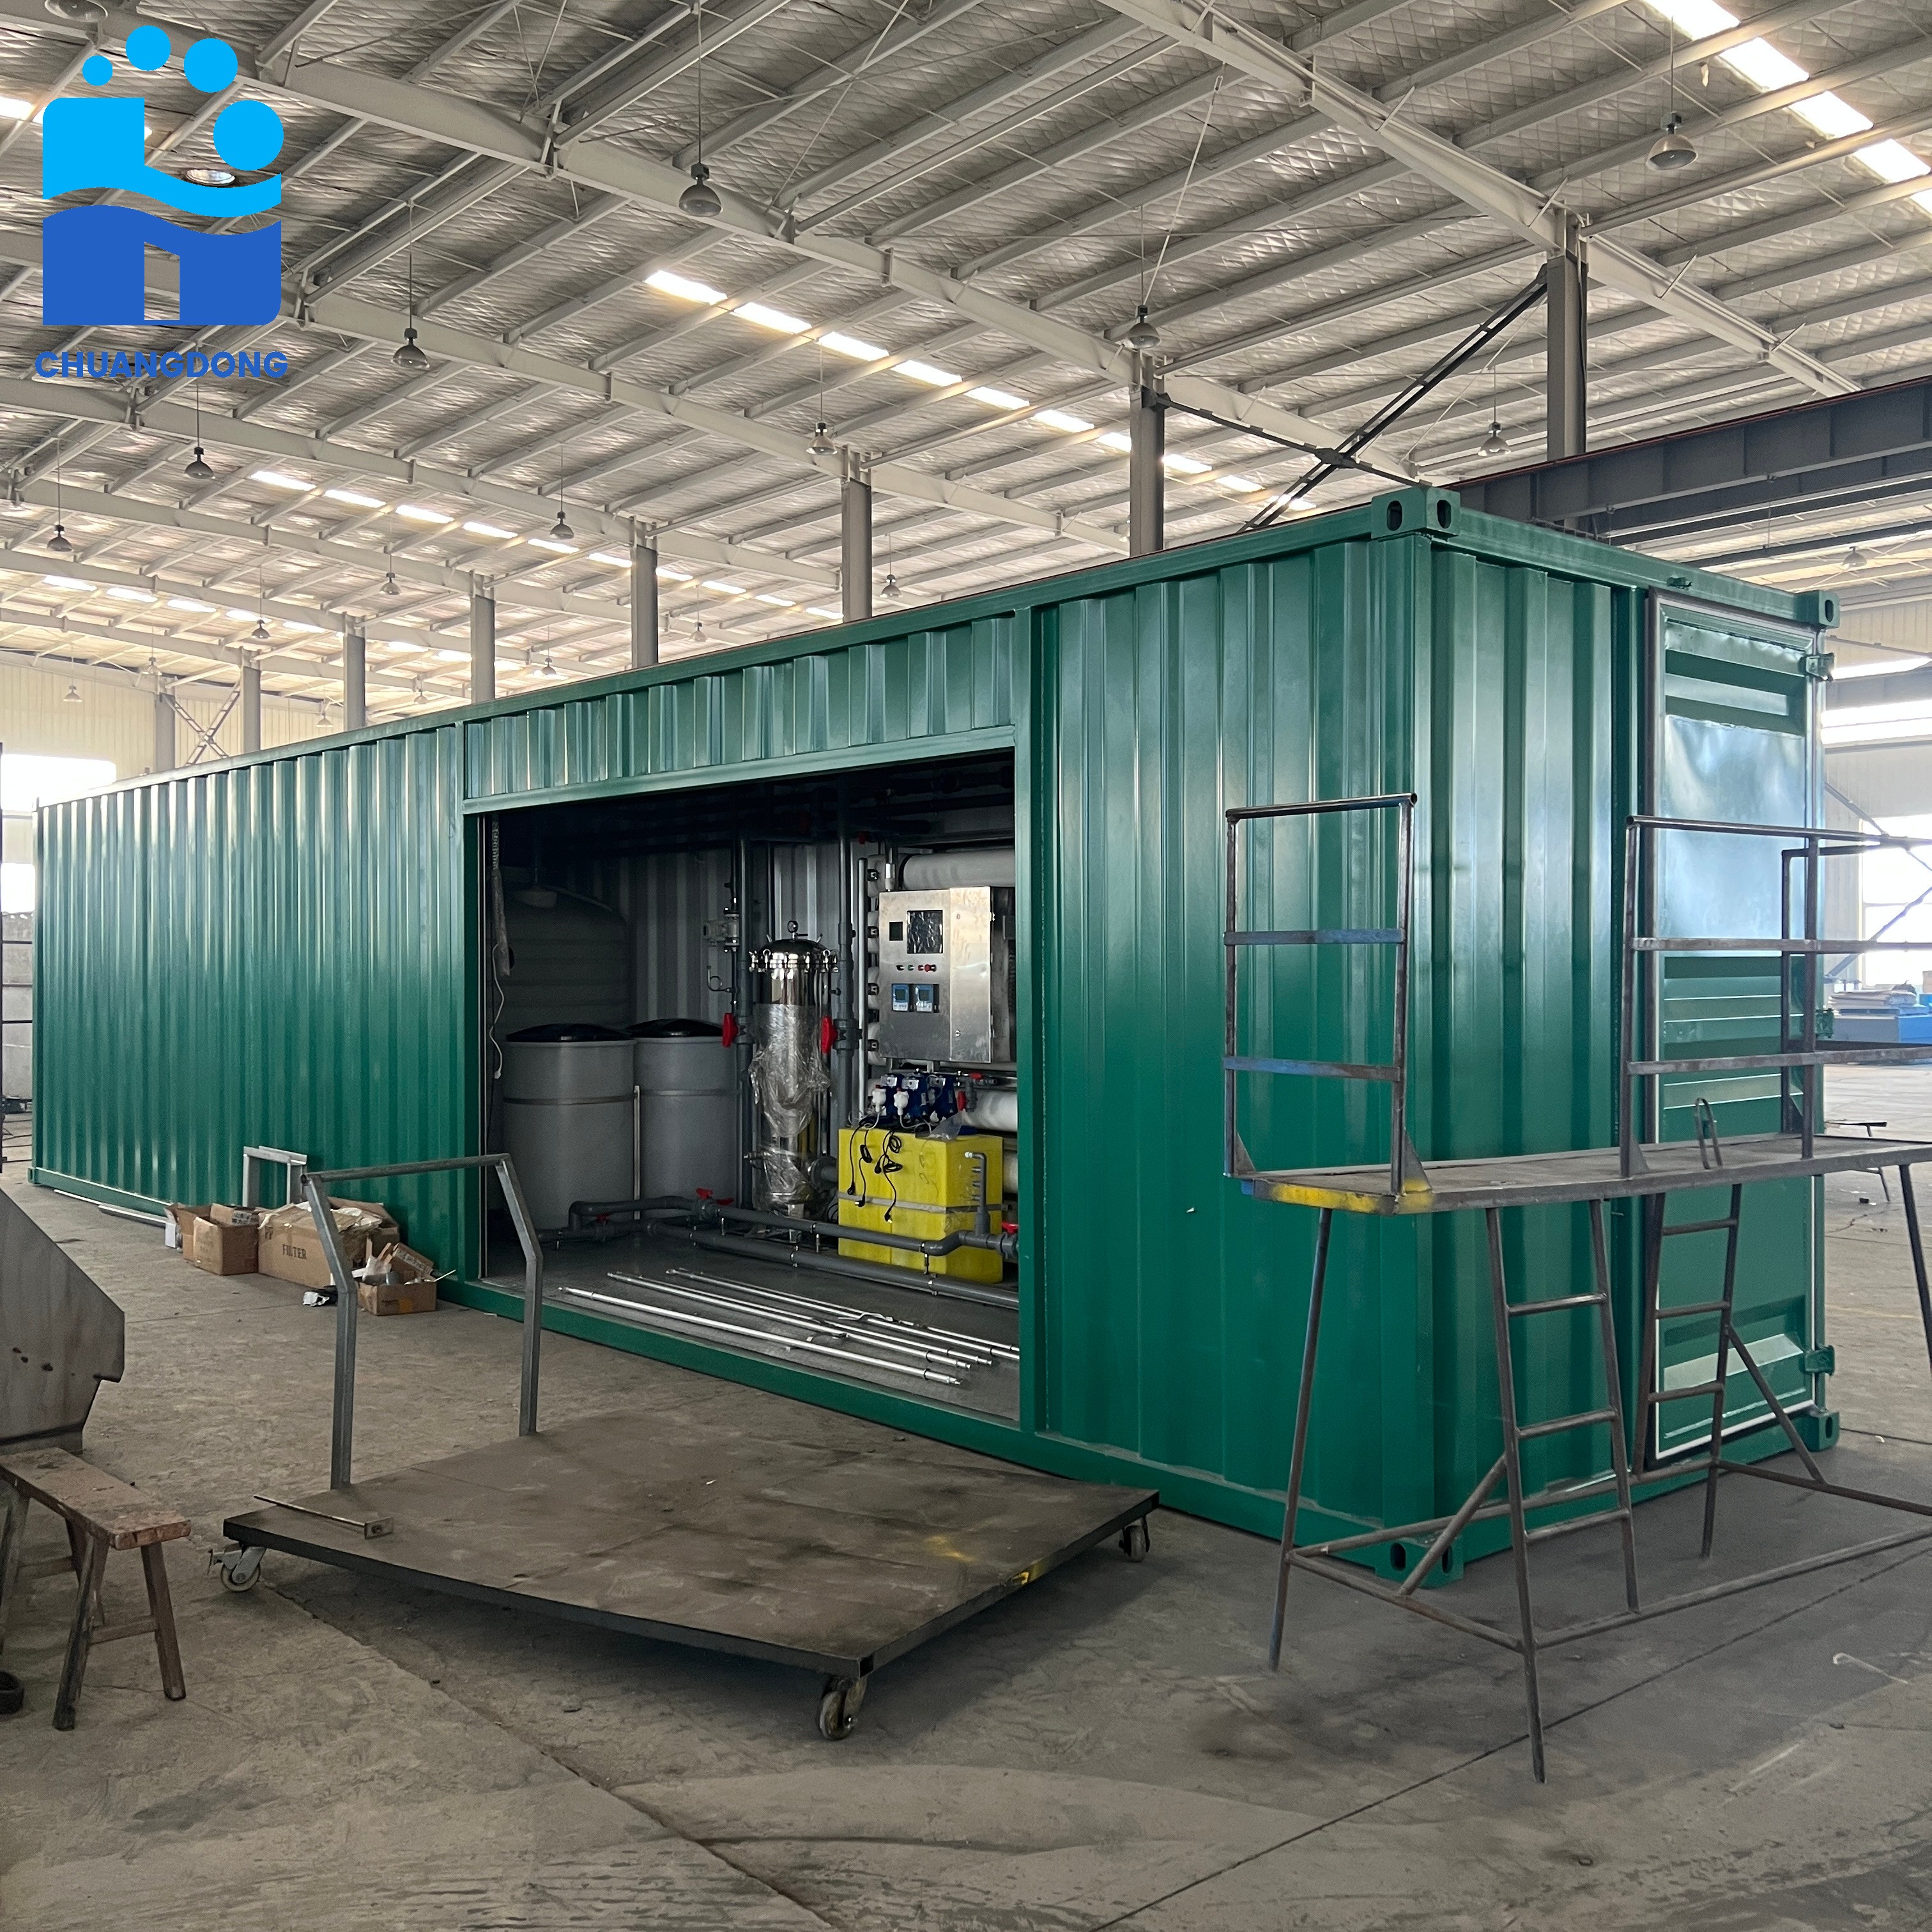
Every reverse osmosis water filter system relies on a sequence of filtration stages. Sediment pre-filters, carbon block filters, the RO membrane itself, and post-filters all work together inside the reverse osmosis water filter system to remove contaminants from source water. Once any of these stages becomes saturated or fouled, your reverse osmosis water filter system can no longer deliver clean, safe output. This guide explains exactly how to replace each component inside a reverse osmosis water filter system, step by step.
Recognizing When Your RO System Needs New Components
Signs That Filters Have Reached Their Limit
A well-maintained reverse osmosis water filter system will show clear warning signs when pre-filters need attention. If your reverse osmosis water filter system begins producing water with an unusual taste or odor, the sediment or carbon filter is likely saturated. Reduced flow rate from your reverse osmosis water filter system is another strong indicator. Most pre-filters in a standard reverse osmosis water filter system should be replaced every six to twelve months, depending on source water quality and daily usage volume.
Monitoring water pressure inside your reverse osmosis water filter system also helps detect clogged pre-filters early. A drop in output pressure across the reverse osmosis water filter system often signals that a sediment filter is blocking normal water flow. Routine inspection of each filter stage keeps your reverse osmosis water filter system running efficiently and prevents the membrane from working under stress.
Signs That the RO Membrane Is Failing
The membrane is the most critical component in any reverse osmosis water filter system. When the membrane inside your reverse osmosis water filter system begins to fail, the TDS reading of the treated water rises noticeably. A healthy reverse osmosis water filter system typically achieves a rejection rate above 90 percent. If your reverse osmosis water filter system shows rejection rates dropping below that threshold, membrane replacement is overdue. Most RO membranes in a reverse osmosis water filter system last between two and five years under normal operating conditions.
Step-by-Step Process for Replacing Filters and Membrane
Preparing the Reverse Osmosis Water Filter System for Maintenance
Before opening any component of your reverse osmosis water filter system, shut off the feed water supply valve completely. This prevents water from flowing through the reverse osmosis water filter system during the replacement process. Next, open the product water faucet connected to your reverse osmosis water filter system to release residual pressure from the housing. Allow the reverse osmosis water filter system to fully depressurize before proceeding. Gather the correct replacement filters and membrane that match the specifications of your reverse osmosis water filter system model.
Use a proper filter housing wrench to loosen the pre-filter housings on your reverse osmosis water filter system. Avoid using excessive force, as the housings on a reverse osmosis water filter system can crack if overtightened or forced. Once open, remove the spent filter cartridges and inspect the inside of each housing for sediment buildup or biofilm. Rinse each housing thoroughly before inserting the new cartridge back into your reverse osmosis water filter system.
Replacing the RO Membrane Correctly
Replacing the membrane in a reverse osmosis water filter system requires locating the membrane housing, which is typically the largest vessel in the system. Unscrew the end caps of the membrane housing on your reverse osmosis water filter system carefully. Slide out the old membrane by pulling it from one end. Insert the new membrane into the reverse osmosis water filter system housing, making sure the flow direction arrow on the membrane aligns with the direction of water flow through your reverse osmosis water filter system. Reseat the end caps firmly and check all O-rings for damage before reassembling the reverse osmosis water filter system.
After completing all replacements, restore the feed water supply to your reverse osmosis water filter system slowly. Allow the reverse osmosis water filter system to fill and flush for at least thirty minutes before collecting any product water. This initial flush clears preservatives from the new membrane and removes loose carbon fines from the new filters inside the reverse osmosis water filter system.
Post-Replacement Verification and Ongoing Maintenance
Testing Output Quality After Replacement
Once the reverse osmosis water filter system has completed its initial flush, use a TDS meter to test the product water quality. A properly serviced reverse osmosis water filter system should show a significant drop in TDS compared to the raw feed water. If the reverse osmosis water filter system is still producing high TDS readings after flushing, check that the membrane was installed correctly and that all O-rings inside the reverse osmosis water filter system are properly seated. Pressure gauges at the inlet and outlet of the reverse osmosis water filter system can also confirm that flow and rejection rates have returned to normal.
Setting a Replacement Schedule for Long-Term Performance
Consistent maintenance scheduling is what keeps a reverse osmosis water filter system productive over many years. For a typical reverse osmosis water filter system, pre-filters should be replaced every six to twelve months, while the RO membrane needs replacement every two to five years. Keeping a maintenance log for your reverse osmosis water filter system helps track replacement dates and avoids missed service intervals. Some industrial reverse osmosis water filter system models include pressure differential indicators that signal exactly when each filter stage inside the reverse osmosis water filter system requires attention.
FAQ
How often should I replace the filters in my reverse osmosis water filter system?
Pre-filters in a reverse osmosis water filter system typically need replacement every six to twelve months. The RO membrane inside your reverse osmosis water filter system usually lasts two to five years. Actual replacement frequency depends on source water quality, system usage, and the flow performance of your reverse osmosis water filter system.
Can I replace the membrane myself in a reverse osmosis water filter system?
Yes, most standard reverse osmosis water filter system membranes can be replaced without specialized tools. As long as you follow the correct flow direction and ensure all O-rings are properly seated, replacing the membrane in your reverse osmosis water filter system is a straightforward maintenance task. Always use a membrane that matches the specifications of your reverse osmosis water filter system model.
What happens if I do not replace filters in my reverse osmosis water filter system?
Neglecting filter replacement causes your reverse osmosis water filter system to lose its contaminant rejection capability. Clogged pre-filters force the membrane inside the reverse osmosis water filter system to work under excess stress, shortening its lifespan. Over time, an unmaintained reverse osmosis water filter system will produce water that fails to meet quality standards and may cause damage to downstream equipment.