 EN
EN


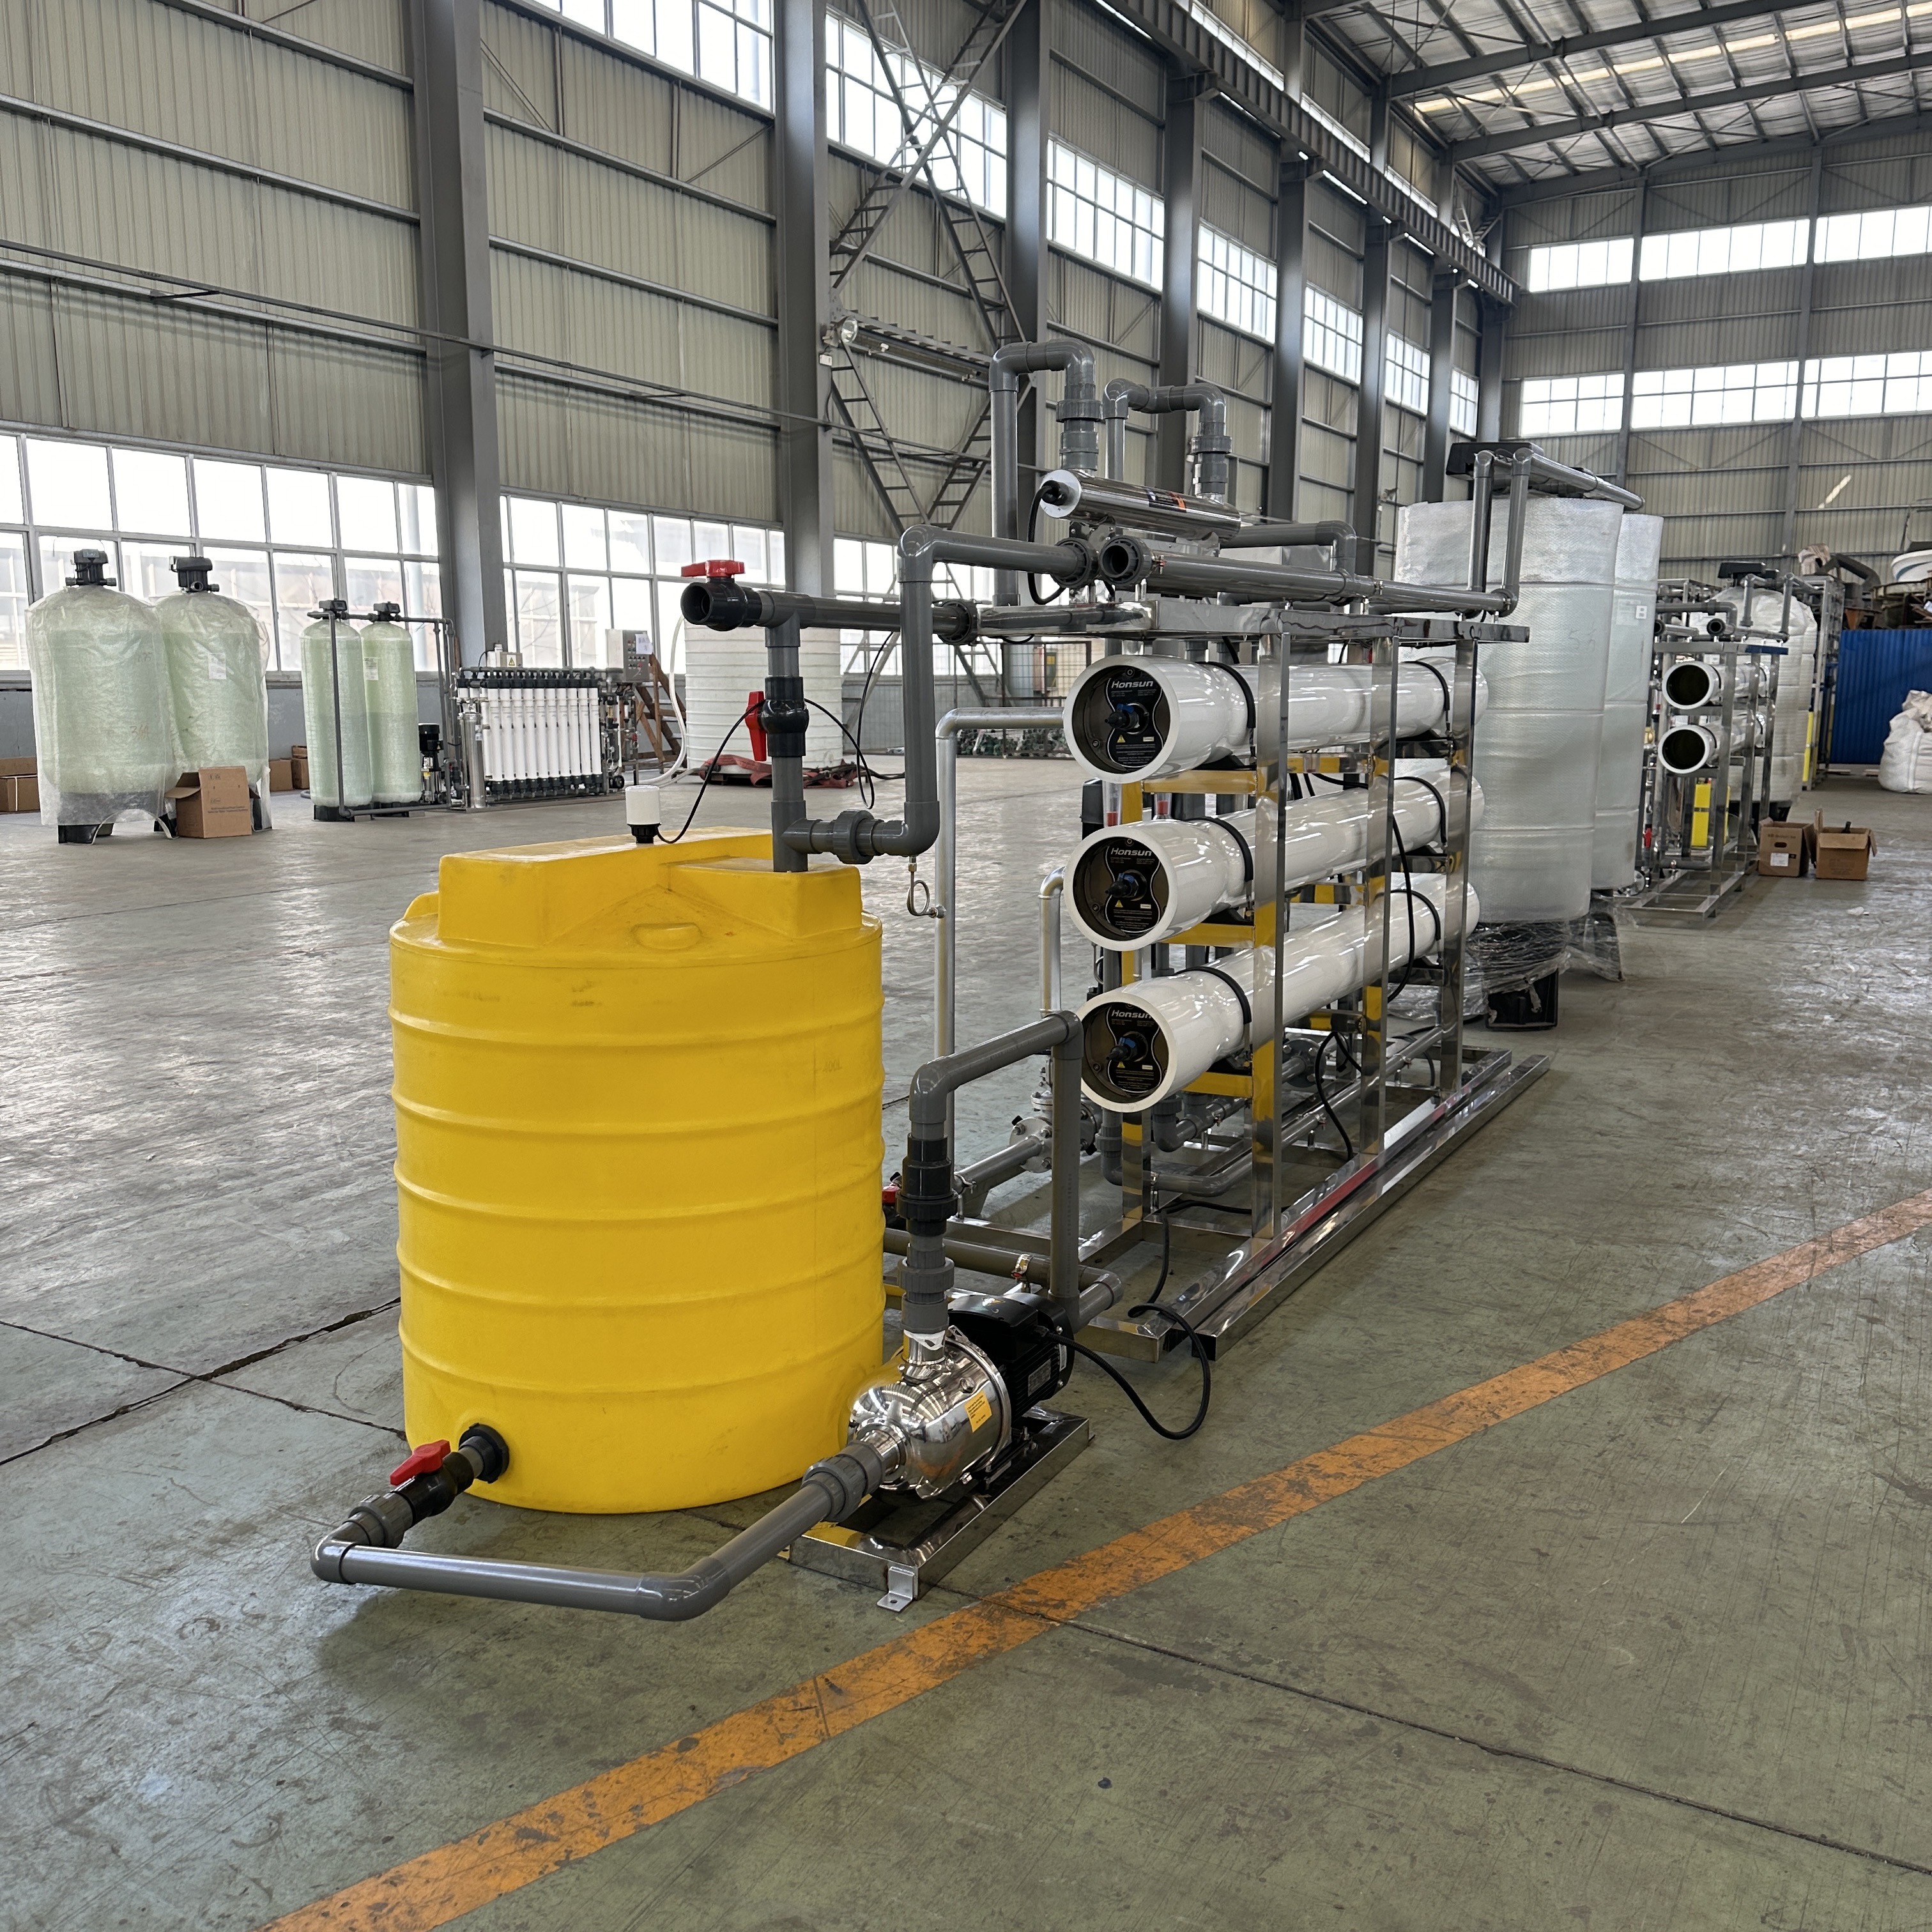
A malfunctioning RO water system troubleshooting process begins with understanding the most frequent problems that affect reverse osmosis performance. Whether your system produces slow flow, tastes bitter, or leaks water, diagnosing the root cause quickly prevents extended downtime and water waste. Most RO water system troubleshooting issues stem from membrane degradation, filter blockage, or pressure tank malfunction, all of which are repairable without professional intervention in many cases.
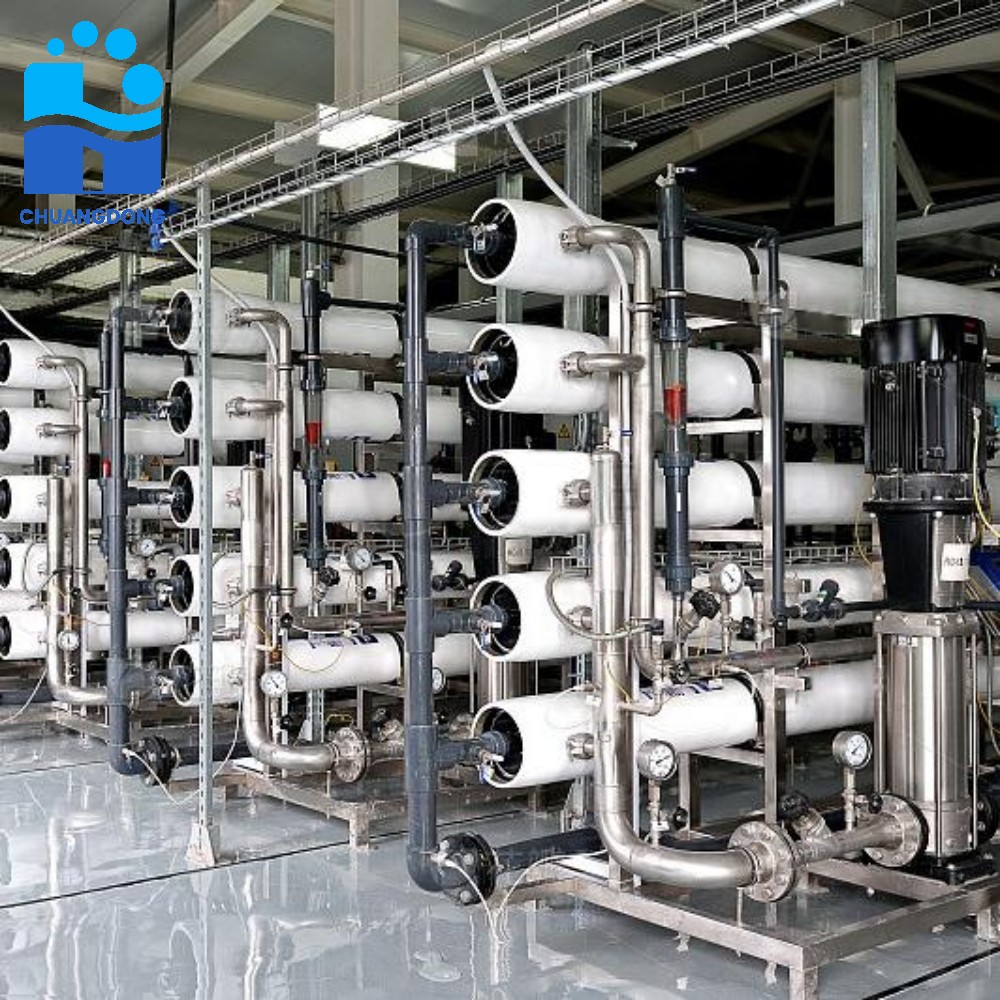
Effective RO water system troubleshooting saves money, extends equipment lifespan, and ensures your household or farm receives clean, safe drinking water consistently. Understanding these five common fixes empowers you to maintain your reverse osmosis system independently and recognize when professional service is truly needed.
Identifying Low Water Pressure and Flow Rate Issues
Low water pressure is among the most common symptoms requiring RO water system troubleshooting attention. When your system produces water slower than normal, the culprit is usually a clogged pre-filter, blocked membrane, or insufficient inlet water pressure. Start by checking your home's main water supply pressure using a pressure gauge; most RO systems require 40 to 80 PSI for optimal operation.
Checking and Replacing Pre-Filters
Pre-filters trap sediment, chlorine, and other contaminants before water reaches the RO membrane, making them critical for effective RO water system troubleshooting. Over time, these filters accumulate debris and restrict flow, which is why RO water system troubleshooting routines include regular pre-filter inspection every three to six months. Replace the first and second pre-filters if they appear discolored, clogged, or visibly damaged; this simple RO water system troubleshooting step often restores water pressure immediately.
Inspecting the RO Membrane
The RO membrane is the heart of your reverse osmosis system, and RO water system troubleshooting frequently focuses on membrane condition. A clogged or fouled RO membrane reduces flow significantly; you can test this by measuring water production rate and comparing it to the system's specification sheet. During RO water system troubleshooting, if flow has declined to below 50 percent of original capacity and pre-filters are clean, the membrane likely needs cleaning or replacement.
Addressing Poor Water Taste and Quality Problems
When RO water system troubleshooting reveals that your water tastes off, smells strange, or contains visible discoloration, the issue often points to carbon filter failure or bacterial growth. Carbon filters remove chlorine, volatile organic compounds, and unpleasant odors; when they become saturated, water quality deteriorates quickly. Effective RO water system troubleshooting for taste issues starts with checking the post-filter carbon cartridge, which should be replaced every six to twelve months depending on water usage.
Carbon Filter Replacement Procedure
RO water system troubleshooting for taste problems typically resolves after replacing the final carbon filter stage. Locate your system's post-filter housing, turn off the water supply, and unscrew the filter canister using the correct wrench size. Empty the old filter carefully, clean the housing threads, insert a new carbon cartridge, and reassemble the housing until hand-tight; this RO water system troubleshooting action restores flavor within hours.
Checking for Bacterial Contamination
Rare but serious RO water system troubleshooting scenarios involve bacterial growth inside storage tanks or tubing. If water smells sulfurous or tastes metallic despite recent filter changes, sanitizing your system may be necessary. RO water system troubleshooting professionals recommend flushing the entire system with a diluted bleach solution, running the water for several minutes, then flushing repeatedly with clean water until no chlorine smell remains.
Fixing Water Leaks and Tank Pressure Loss
Water leaks are urgent RO water system troubleshooting concerns that waste water and damage surrounding cabinetry. Leaks most commonly occur at connection points, from the pressure tank valve, or from cracked tubing after the membrane stage. Prompt RO water system troubleshooting for leaks prevents mold growth, structural damage, and contamination from external sources entering the system.
Locating and Sealing Connection Leaks
RO water system troubleshooting for leaks begins by identifying the leak source visually or by wiping tubing dry and checking where moisture reappears. Most leaks occur where plastic tubing connects to brass fittings; tightening these connections hand-tight, then adding a quarter turn with a wrench, often stops minor RO water system troubleshooting leaks immediately. If the leak persists after tightening, disconnect the tubing, inspect the ferrule (small plastic ring inside the fitting), and replace it if cracked or flattened during RO water system troubleshooting work.
Addressing Pressure Tank Problems
The pressure tank stores filtered water under pressure, allowing your RO water system troubleshooting efforts to include regular tank maintenance. A waterlogged tank loses pressure, causing your system to cycle on and off frequently or produce water slowly; RO water system troubleshooting involves checking the tank's air pressure using a bicycle pump and gauge. Most tanks require 5 to 10 PSI of air pressure; if the reading is zero or very low, use an air pump to restore correct pressure, which often resolves RO water system troubleshooting symptoms related to tank performance.
Resolving System Shutdown and Error Codes
Modern RO systems include automatic shutoff features that activate when pressure drops excessively or flow becomes inadequate, making RO water system troubleshooting more straightforward for technicians. If your system stops producing water or displays an error code, RO water system troubleshooting procedures begin by checking the inlet water shutoff valve and ensuring it is fully open. Next, verify that your pressure tank has adequate air charge and that all tubing connections are secure; these basic RO water system troubleshooting checks resolve most shutdown issues within minutes.
Checking Electrical Connections and Switches
RO water system troubleshooting sometimes requires inspecting electrical components, though most homeowners can safely verify basic connections. Ensure your pump has power by checking that the outlet is functioning and the system's power switch is in the 'on' position during RO water system troubleshooting diagnostics. If the pump runs but no water flows, the issue is mechanical rather than electrical, redirecting your RO water system troubleshooting efforts toward checking membrane blockage or valve problems.
Testing and Resetting Flow Restrictors
The flow restrictor regulates how much water goes to drain versus into the storage tank; a clogged flow restrictor during RO water system troubleshooting can dramatically reduce water production. This small component is usually located on the drain line and can be unscrewed and cleaned with warm water to remove mineral deposits. RO water system troubleshooting that includes cleaning the flow restrictor often increases water production by 25 to 50 percent without requiring any part replacements.
Performing Regular Maintenance to Prevent Future Issues
Preventive maintenance is the most effective RO water system troubleshooting strategy, stopping problems before they develop into serious malfunctions. Establish a maintenance schedule that includes monthly visual inspection, quarterly pre-filter checks, and annual membrane evaluation; this RO water system troubleshooting routine extends system lifespan significantly. Document your maintenance activities and note any changes in water production, taste, or pressure so you recognize early warning signs requiring RO water system troubleshooting attention.
Creating a Maintenance Log
A simple maintenance log for your RO water system troubleshooting efforts tracks when filters were changed, water pressure readings, and any observed issues. This record becomes invaluable when diagnosing patterns; for example, if RO water system troubleshooting shows that pressure drops consistently during certain seasons, you may need more frequent pre-filter changes during those periods. Digital or paper logs both work equally well for documenting your RO water system troubleshooting observations over time.
FAQ
How often should I perform RO water system troubleshooting maintenance?
Most RO water system troubleshooting experts recommend checking your system monthly, replacing pre-filters every three to six months, and replacing the RO membrane every two to three years depending on water quality and usage volume. Annual professional RO water system troubleshooting inspections help identify developing problems before they cause system failure or water quality degradation.
Can RO water system troubleshooting be done without professional help?
Yes, most common RO water system troubleshooting tasks like filter replacement, connection tightening, and pressure tank air charging can be performed by homeowners with basic tools and instruction. However, if RO water system troubleshooting reveals internal membrane damage, persistent leaks after simple repairs, or electrical issues, professional technician assistance is warranted to avoid equipment damage or water contamination.
What is the cost of typical RO water system troubleshooting repairs?
Most RO water system troubleshooting repairs cost between 50 and 300 dollars depending on which components require replacement; filter cartridges typically cost 30 to 80 dollars each, while complete RO membrane replacement ranges from 150 to 300 dollars. Professional RO water system troubleshooting service calls usually cost 100 to 200 dollars in labor, making DIY RO water system troubleshooting an attractive option for routine maintenance and common repairs.